Zipwhip Migration Tool
This tool migrates contacts (including opt-outs), groups, templates, messages, users, and notes from a Zipwhip number to a corresponding Text Request dashboard.
What Can I Migrate?
The following features will migrate from your Zipwhip account to your new Text Request account. Be aware that some of these features may not be exactly the same as they were in Zipwhip.
- Message History: All messages and conversation history from your Zipwhip number will appear in your new Text Request dashboard.
- Contacts: All contacts saved in your Zipwhip account can migrate to Text Request. This includes opted-out and blocked contacts. Contacts designated as opted-out or blocked in Zipwhip will keep their status when they transfer into Text Request.
- Notes: Any notes that exist in your Zipwhip account will be added as notes in Text Request. A contact’s birthday, email, or address stored in Zipwhip, will be added as a Custom Field in Text Request. No other Zipwhip custom field information will be imported.
- Groups: Any groups created in Zipwhip will now appear in Text Request.
There are a few features and settings that won’t migrate from Zipwhip to Text Request. These include:
- Webhooks/API keys
- Templates
- Signatures
- Custom user settings
- Users/User Permission Levels
As of December 1st, 2023, Zipwhip has shut down permanently. You can still access your Zipwhip account data using their AAP portal until January 31st, 2024. Please follow the instructions below to get started.
If you are unable to access your Zipwhip account information but are ready to make the switch to Text Request, you’ll need to do the following:
1. Access Zipwhip’s AAP portal.
2. Export your Zipwhip account data using the AAP tool.
3. Upload the account data using Text Request’s migration tool.
To access Zipwhip’s AAP portal:
1. Go to Zipwhip’s AAP portal. URL: http://aap.zipwhip.com/
2. Enter the Zipwhip account admin’s email address.
3. Click Submit.
4. Open the verification email sent to the email address.
5. Click Sign In to Portal.
To export your Zipwhip account data:
1. Select the account you want to export from the list of accounts associated with the admin email address.
2. Select My Data under Account Management.
3. Click on the data export option for each dataset you want to export.
You can export an account’s Contacts, Groups, and Messages from Zipwhip. However, keep in mind that:
- Deleted text messages will not be exported.
- It’s possible that larger data records could be split into multiple files.
- Contact and Group records will download as CSV files.
- Message files will download as zip files.
Note: For a successful migration, your downloaded CSV files must be in a specific format. Usually, your Zipwhip file will have the correct format. If not, please open the file linked below and format your information exactly like the template.
To migrate your data to Text Request:
1. Go to the Integrations menu.
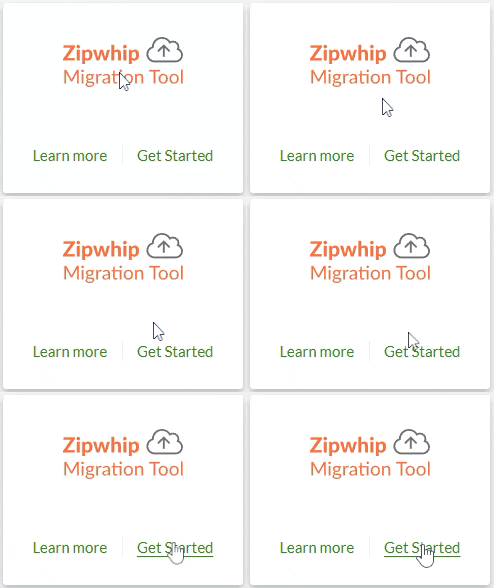
2. Select Get Started inside the Zipwhip Migration Tool box.

3. Click Choose a file. (You can also drag and drop if you prefer).
4. Select one of the CSV files you downloaded earlier to start the migration process.
The migration process only takes a few minutes, but you will need to do this one file at a time for each category (Contacts, Group Memberships, Conversation History) you want to upload.