![favicon-256.png]](https://help.textrequest.com/hs-fs/hubfs/favicon-256.png?width=30&height=30&name=favicon-256.png)
Pricing Note: This integration is included for free with a Text Request Starter plan or above, or with the API add-on. Basic plans can add the Zapier integration for $50 a month.
Zapier Workflow Overview
Zapier connects Text Request to your favorite tools using Zaps—automated workflows made up of three core components:
- Triggers: Events in Text Request or another app that start a Zap.
- Actions: Operations executed automatically in Text Request or another app after a Zap is triggered.
- Searches: Queries that locate specific data records in Text Request (such as finding a contact or conversation) before running the next step in a Zap.
Text Request's Triggers, Actions, and Searches
Text Request supports a comprehensive set of automated capabilities within Zapier:
| Triggers | Actions | Searches |
|
New contact New message received New message sent Contact updated Delivery status change Payment status change Keyword subscribed / unsubscribed New review received |
Send message Create contact Send group message Send message with attachments Send payment request Resend payment request Mark payment as paid Send review request Update contact Add / remove contact tag Add / remove contact to group Add / remove contact custom field value Get contact custom field value Create contact group Create custom field Create keyword |
Find contact Find conversation Find group Find keyword |
Setting Up the Zapier Integration
Path: Integrations > Everyday Tools > Zapier
1. Click See our most popular Zaps within the Zapier box.

2. Select Use this workflow next to the Zap you'd like to use.
3. Log in to or create a Zapier account for further setup. Visit Zapier's help center for additional help.
Creating a Zap
We provide a list of premade Zaps that our users frequently utilize with Text Request. All you need to do is select Use this workflow and sign into your relevant accounts. However, in case you want to create your own, let's walk through that process.
Our example will help you create a Zap that sends you text reminders for upcoming events in your Google Calendar. You can also check out Zapier's help document for additional information on creating Zaps.
Create a Zap with Google Calendar:
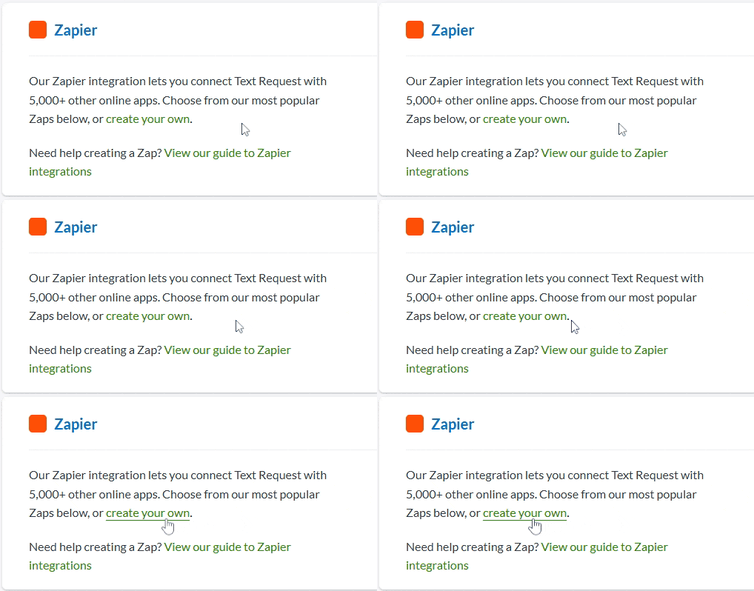
1. Click Create your own on the Zapier integration page.
2. Log in to Zapier and click My Zaps.
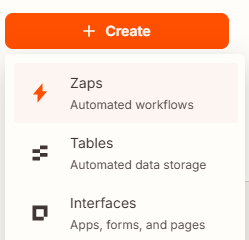
3. Click + Create and then select Zaps.
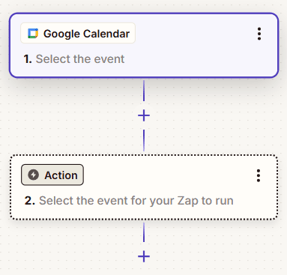
4. The Zap workflow should load with an undefined trigger and action.
5. Click the Trigger box and select Google Calendar as the app.
6. Under Trigger event, select Event Start. Make sure you're signed in to your Google Calendar account.
7. Enter the following information for the Event Start:
-
- Select which calendar to use.
- Set the time before an event you want the Zap to trigger.
- (Optional) Designate search terms.
8. Click Continue, then click Test trigger.
9. Click the Action box and select Text Request as the app.
10. Under Action event, select Send Message. Make sure you're signed in to your Text Request account.
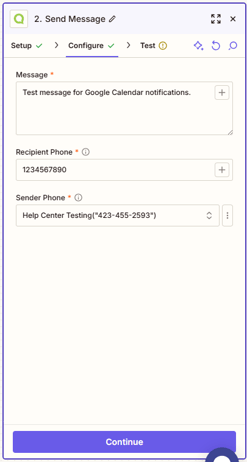
11. Enter the following information for the Send Message:
-
- The message you want to send.
- The phone number receiving the message.
- The dashboard sending the message.
12. Click Continue, then click Test step.
13. Click Publish to save and enable the Zap.