The contacts you pull from your VoteBuilder lists will only exist inside campaigns within the Peer to Peer section of your Text Request menu—as opposed to individual contacts or groups within the Contacts section of your menu.
All dashboards within your Text Request account can be synced with this integration once it’s live. You just need an admin level user within Text Request, plus your VoteBuilder application name and API key, to set the integration up.
How do you set up this integration?
Before you can get started, you’ll need to request a VoteBuilder application name and API key from NGP Van Support. Click here to fill out a request form for these credentials.
Once you have your application name and API key, you can move on to set up:
1. Go to Integrations.
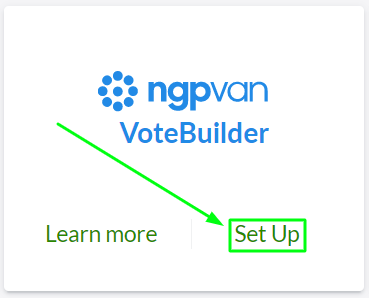
2. Select Set Up within the VoteBuilder box.
3. Enter your application name and API key in their respective boxes, then select Connect to VoteBuilder.
The integration will now be active, and you can start selecting the lists from VoteBuilder that you wish to create a new Peer to Peer campaign with.
If your lists don’t appear immediately, try refreshing the page. Lists will be ordered at default by the date and time they were most recently created inside VoteBuilder.
To create a new Peer to Peer campaign with a VoteBuilder list:
1. Select the list you’d like to send a campaign to (you can use the search bar, or sort by list name or count), then click Start.
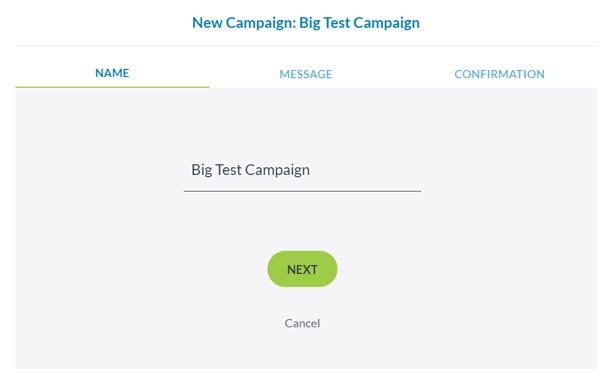
2. Type the name you’d like to give the campaign created from the chosen list, then click Next.
3. Type the message and insert any Merge Fields you’d like the contacts in the list to receive.

4. Add any signatures, attachments, templates, or scheduled send times as desired, then click Next.

5. Review your campaign’s details, confirm that you understand each contact will receive a Stop=stop message the first time they receive a text from you, then select Create Campaign.

Once you have completed this process, your new campaign will appear in the Peer to Peer section of your menu under Current Campaigns.
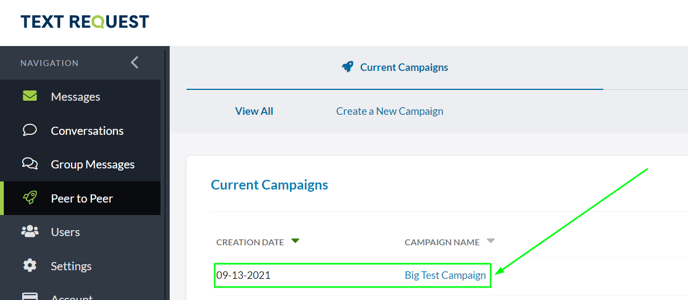
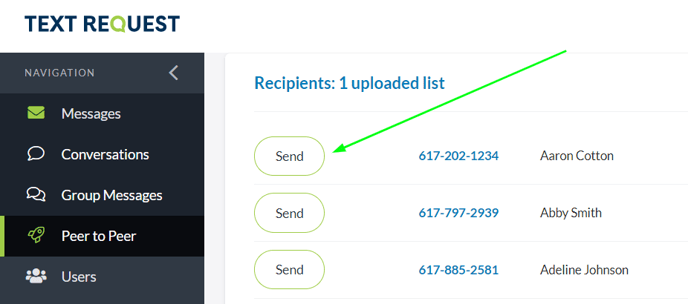
You can then select that campaign and begin sending messages to the list of contacts inside it, just like you would with any other Peer to Peer campaign.
Click here to learn more about sending and analyzing Peer to Peer text message campaigns.
Note: We recommend that you don't send more than 50,000 messages across dashboards per campaign when using this integration to send Peer to Peer messages.

To disconnect the VoteBuilder integration:
When you no longer wish to use this integration, you can disconnect it by following these steps:
1. Go to the Integrations section of your Text Request menu.
2. Locate the VoteBuilder integration box underneath Everyday Tools.
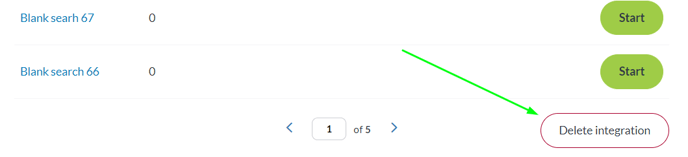
3. Select Delete integration at the bottom of the new page that appears.
4. A new window will open and ask you to confirm that you’re sure you’d like to delete the integration.

Once this integration is deleted, the campaigns you previously created with it will not be affected and will continue to exist within the Peer to Peer section of your Text Request menu. All other VoteBuilder lists will be removed from the Integrations section of your Text Request menu.
You can reconnect this integration at any time by following the set up instructions above.