
Quickbooks invoice, receipt, and payment notifications can all be sent via SMS when this integration is active. Contacts can also instantly be synced to Text Request in real-time when you add them to Quickbooks.
Note: The Quickbooks integration is a one-way street for changing contact information, including opt-outs. Contact information updated in your Quickbooks account will automatically appear in Text Request, but any changes you make in Text Request will not impact your Quickbooks account.
How do you set up this integration?
An admin-level user can activate this integration by following these steps:
1. Go to the Integrations section of your menu
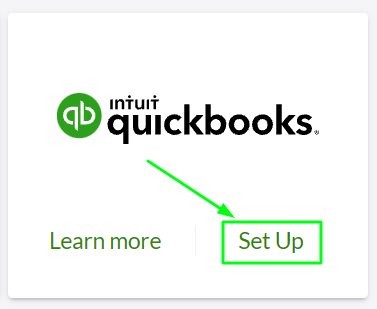
2. Locate the Quickbooks integration box underneath the Everyday Tools section
3. Select Set Up within the Quickbooks box
4. Select Connect to Quickbooks on the new page that appears

5. A new window will open asking you to enter you Quickbooks login credentials
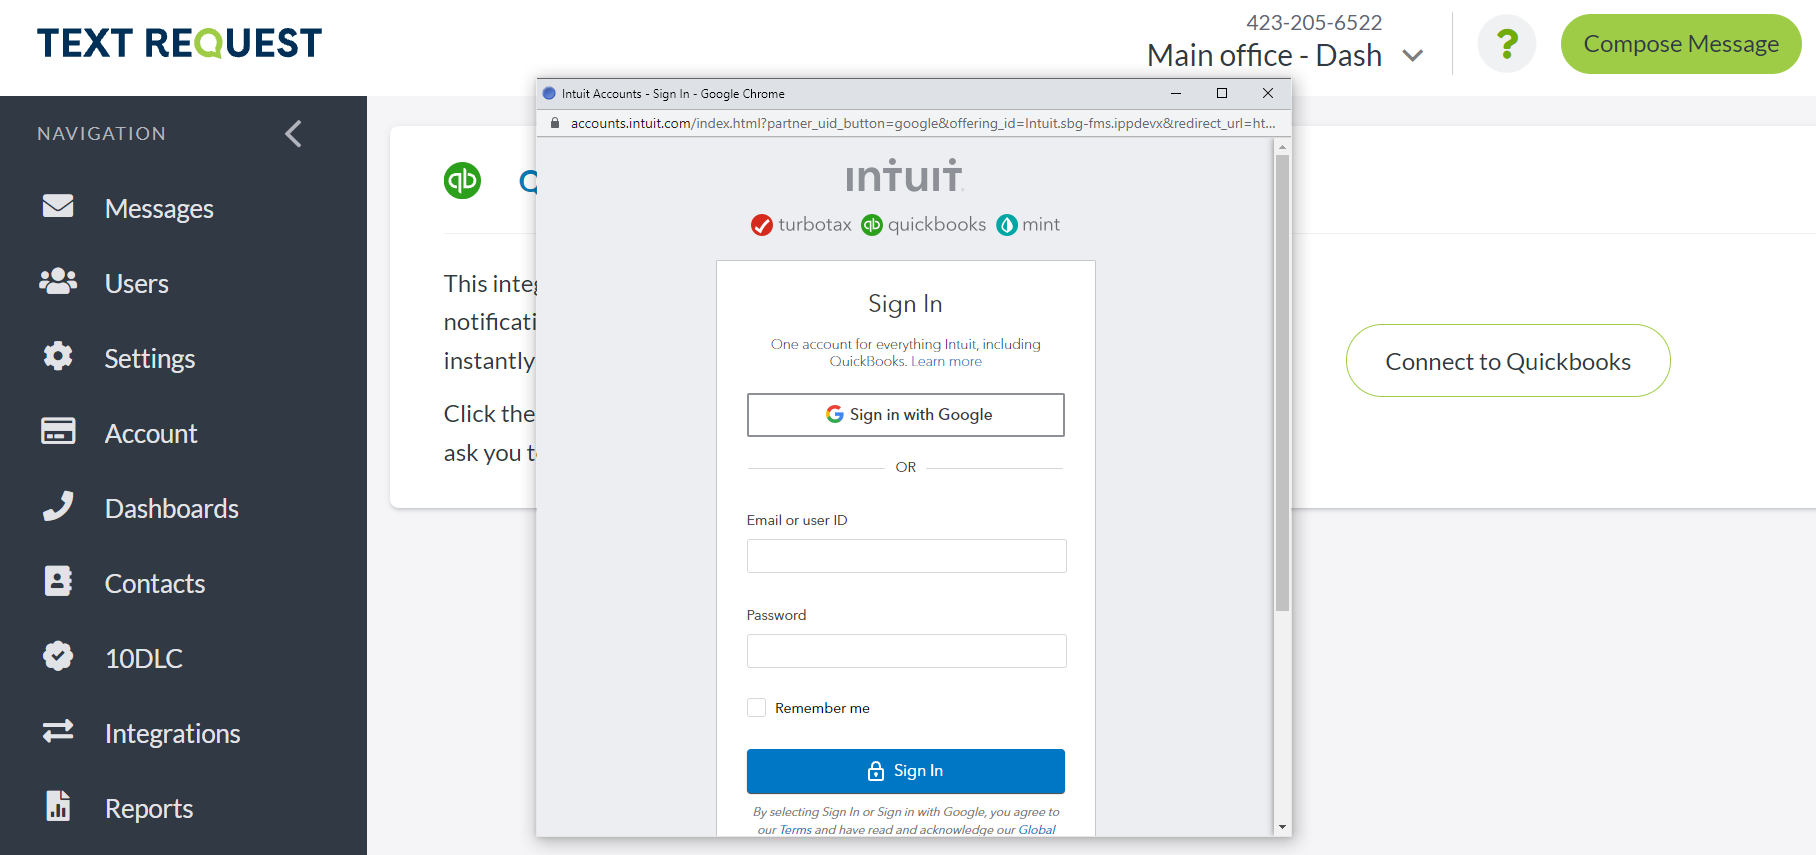
6. Select Connect to grant Text Request permission to connect to your Quickbooks account, and the integration will become active

How do you set up Contact Sync?
Activating Contact Sync will automatically put the phone numbers you’ve gathered in Quickbooks into your Text Request account. These contacts will be added to a group called Quickbooks Customers, which will automatically be updated in real-time once the initial sync is complete. The initial sync can take up to a full day to complete.
Note, only contacts that already exist within Quickbooks will be added. Any contacts' phone numbers that only exist within Text Request will need to be manually added to Quickbooks.
To activate Contact Sync:
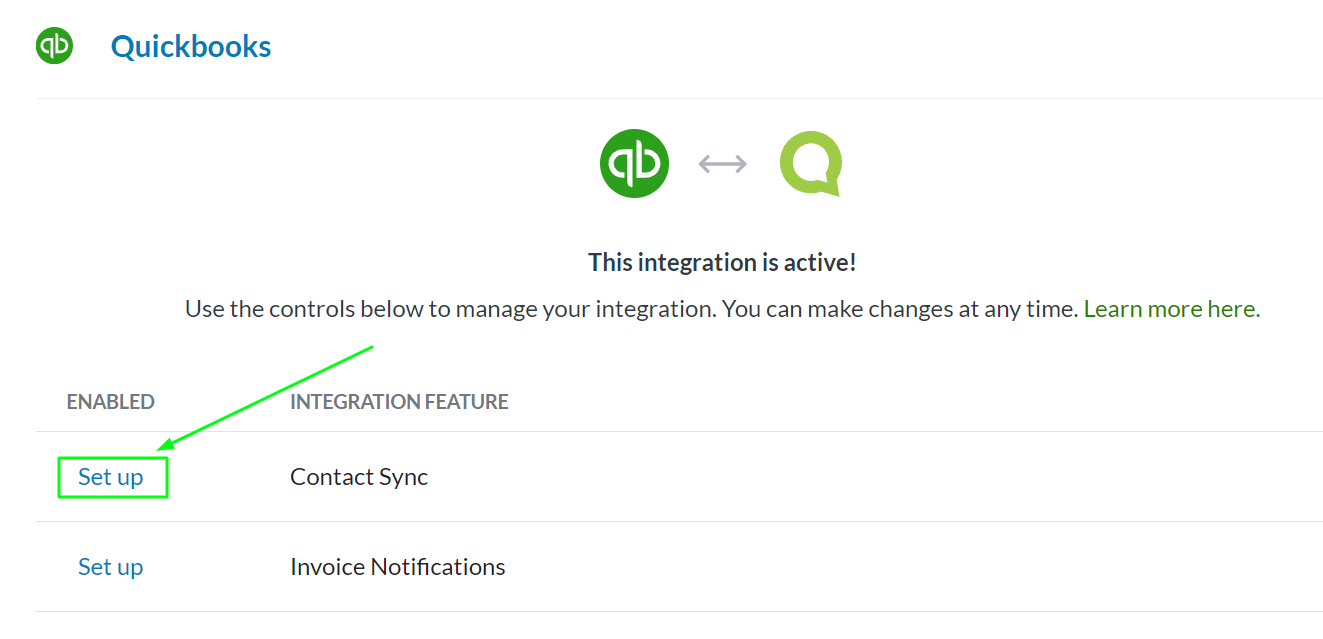
1. Select Set up next the Contact Sync feature
2. Select between syncing selected dashboards or syncing all dashboards
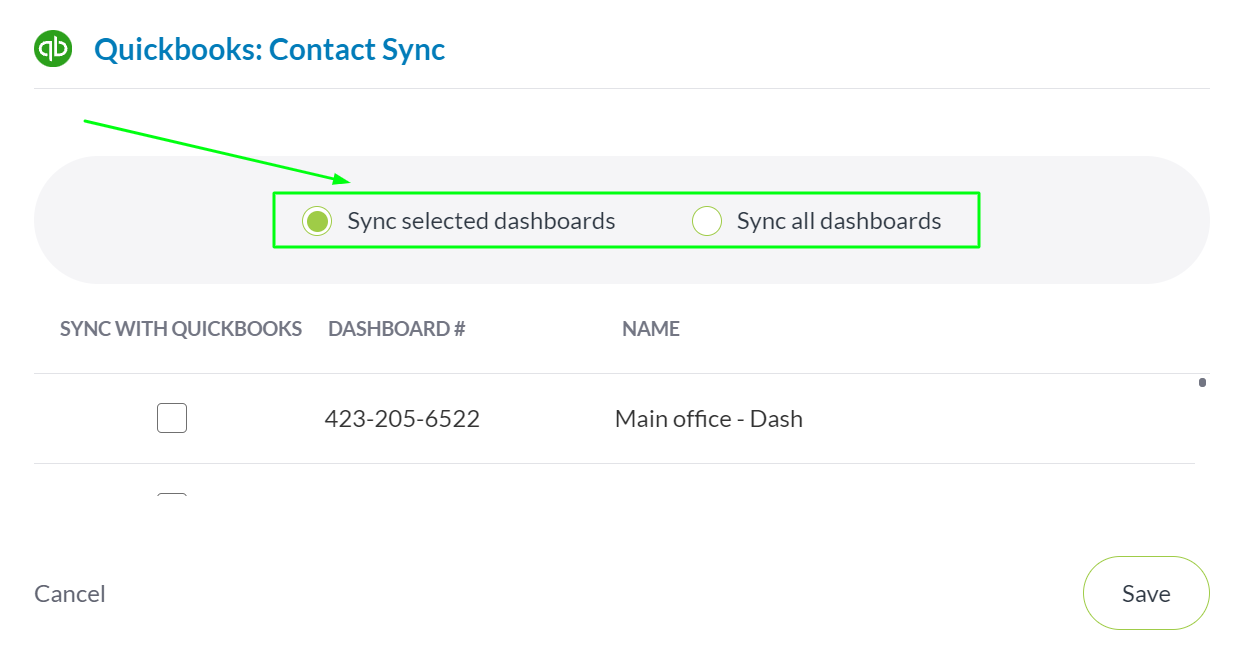
Choosing selected dashboards will let you check mark the specific dashboards you'd like to sync with your Quickbook contacts.
Choosing all dashboards will automatically sync all your existing dashboards with your Quickbook contacts.
If there is a duplicate contact in Quickbooks and Text Request, the Text Request contact information will be overwritten with the newly added contact’s details.
3. Select Save and Contact Sync will become active
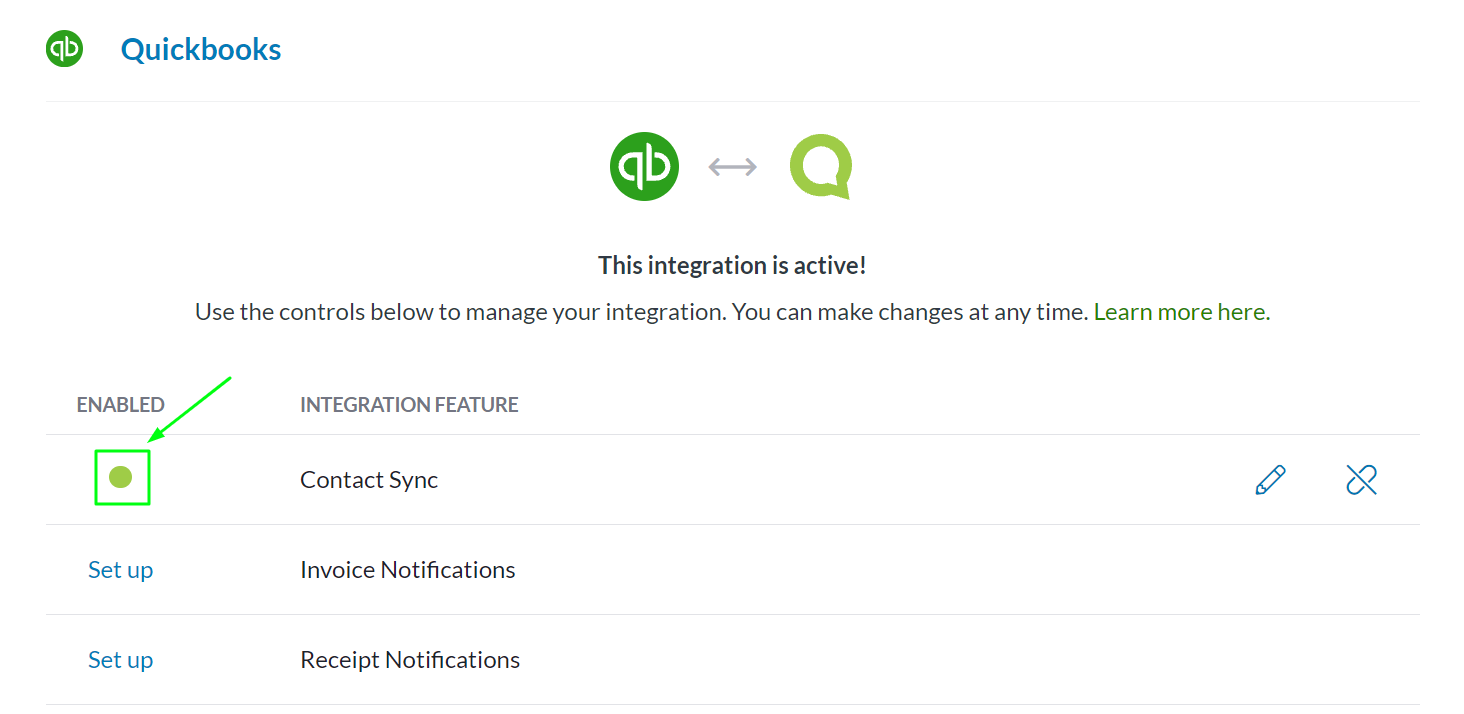
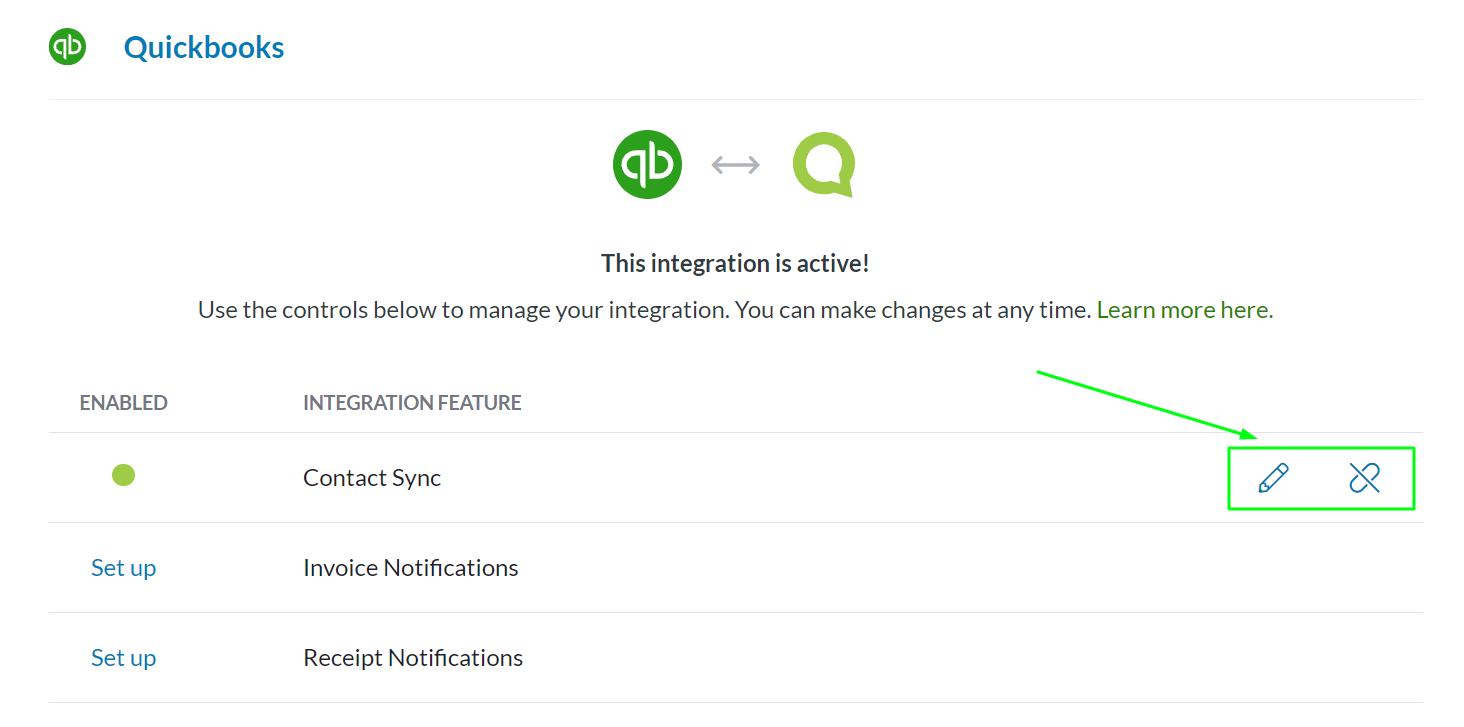
You can turn off Contact Sync by selecting the unlink icon, and you can edit the dashboards that are currently syncing contacts by selecting the pencil icon.
How do you set up Invoice Notifications?
When this integration feature is active, customers who have their phone number listed in your Quickbooks account will receive a text message whenever you create an invoice for them inside Quickbooks. To set it up:
1. Select Set up next to Invoice Notifications

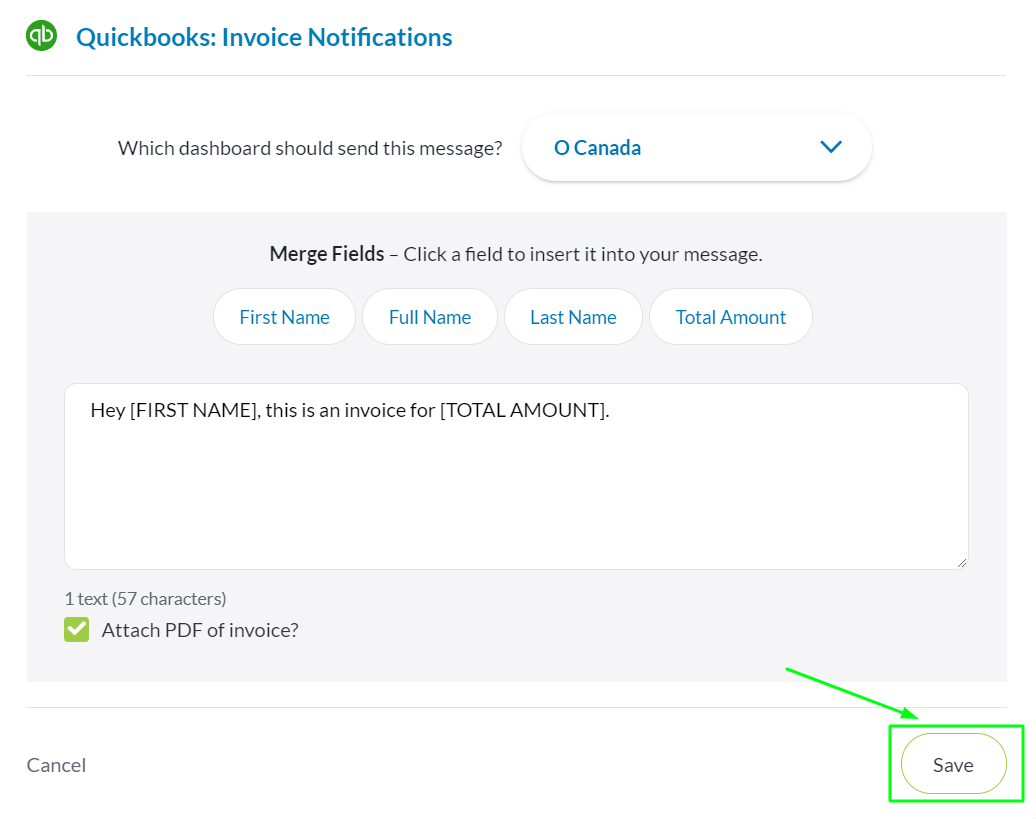
2. A new window will appear and ask you to select the dashboard you want the invoice notification to send from, and to compose the messaging with the desired merge fields you want to appear
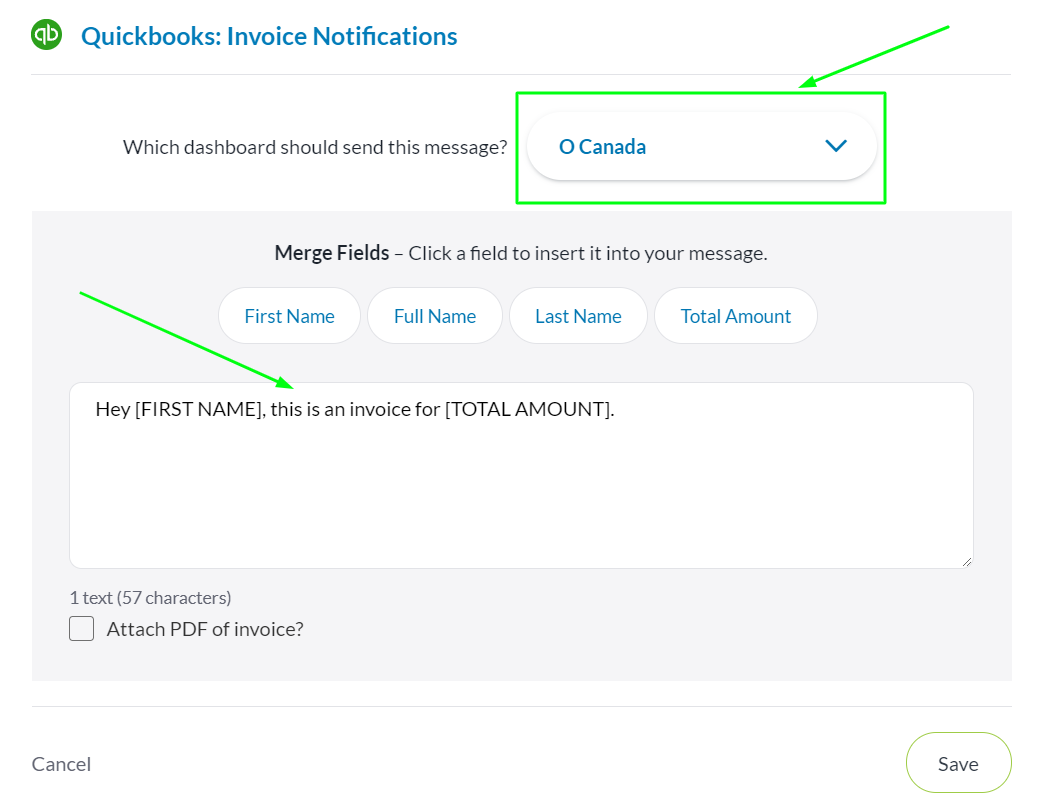
3. Check whether or not you would like to attach a PDF of the invoice
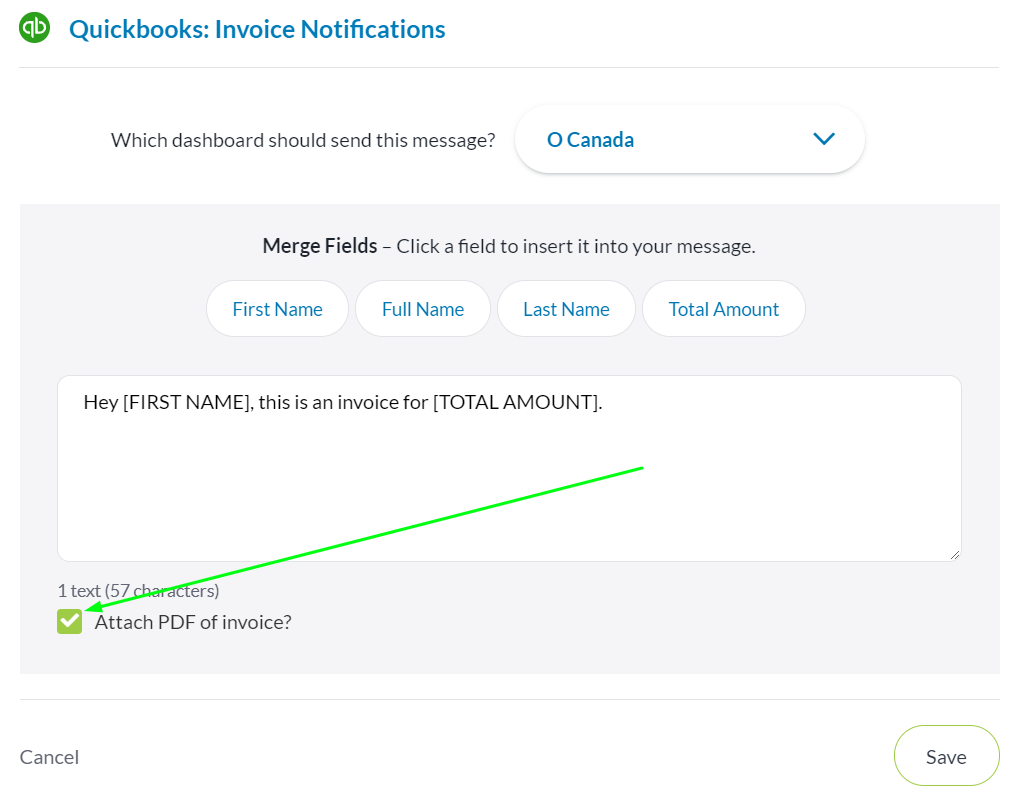
4. Select Save
You can edit or delete your invoice notification at any time by selecting the pencil and unlink icons respectively next to Invoice Notifications.

How do you set up Receipt Notifications?
When this integration feature is activated, customers who have their phone number listed in your Quickbooks account will receive a text message whenever you create a receipt for them inside Quickbooks. To set it up:
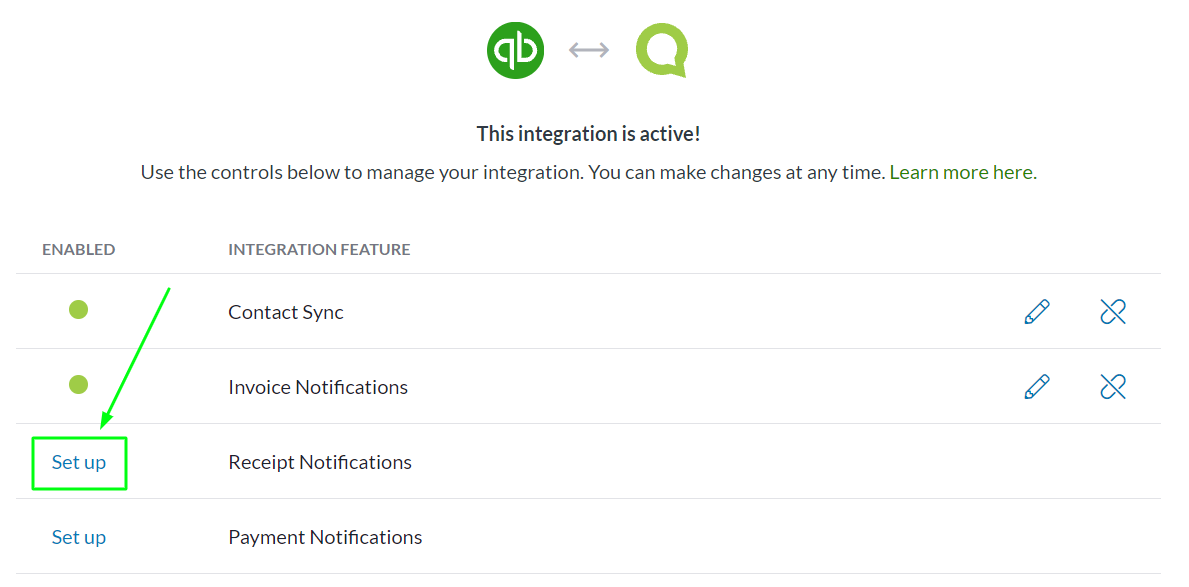
1. Select Set up next to Receipt Notifications
2. A new window will appear and ask you to select the dashboard you want the receipt notification to send from, and to compose the messaging with the desired merge fields you want to appear
3. Check whether or not you would like to attach a PDF of the invoice
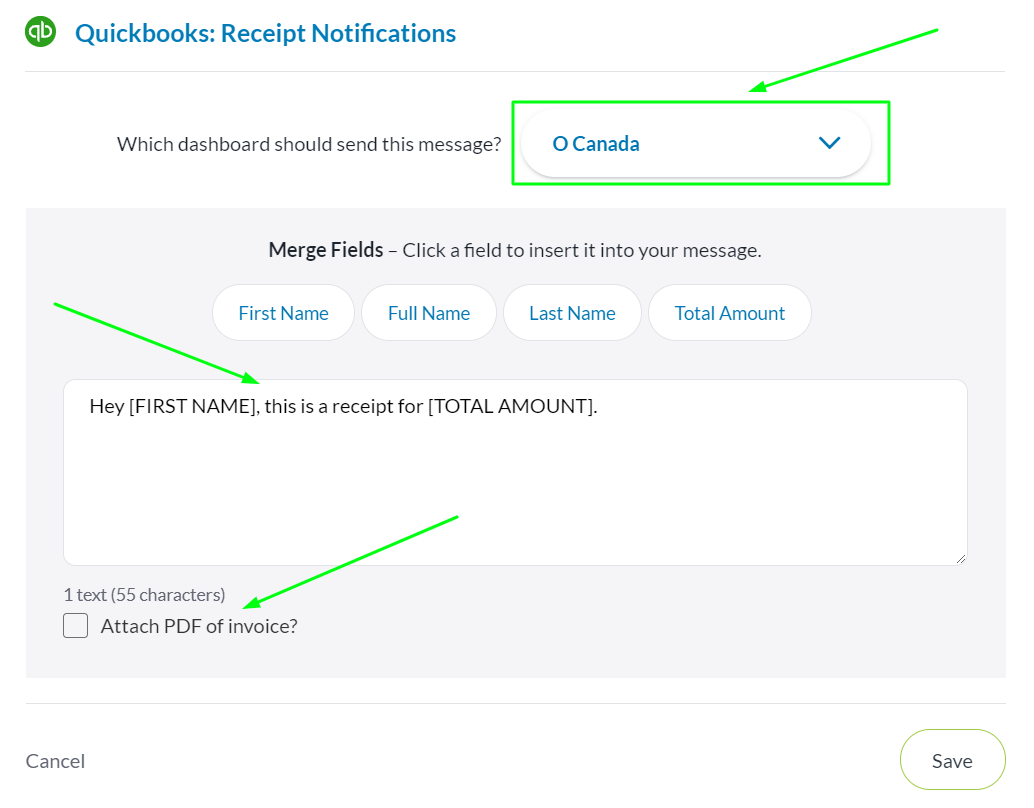
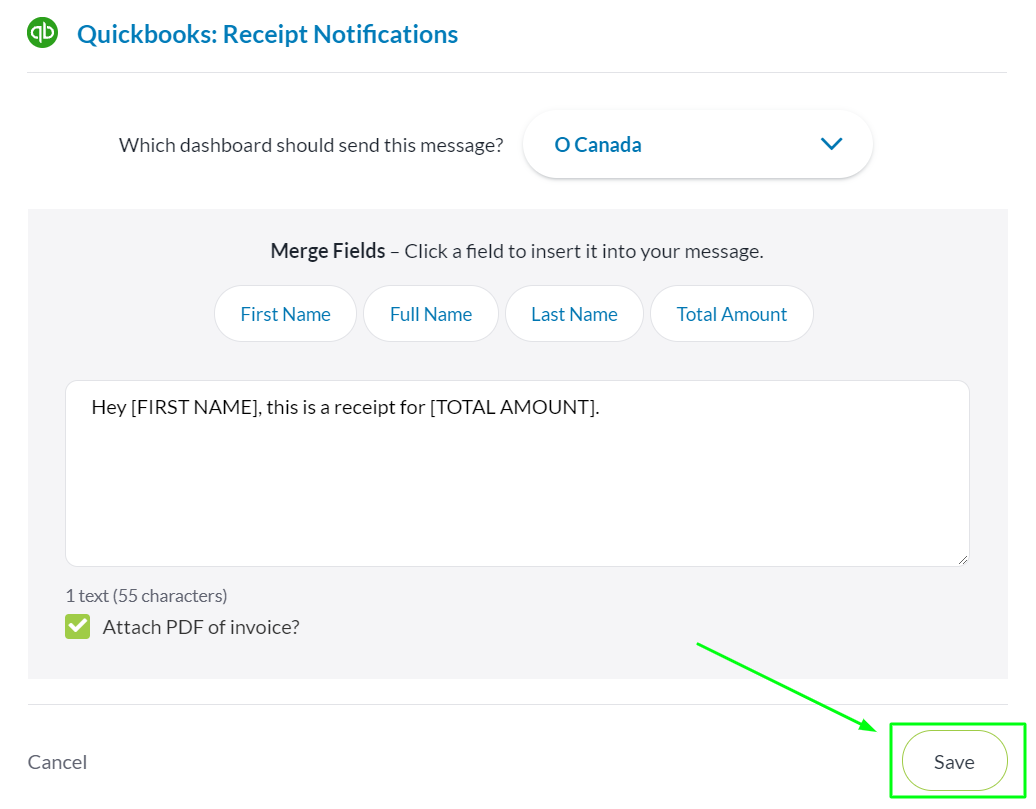
4. Select Save
You can edit or delete your receipt notification at any time by selecting the pencil and unlink icons respectively next to Receipt Notifications.

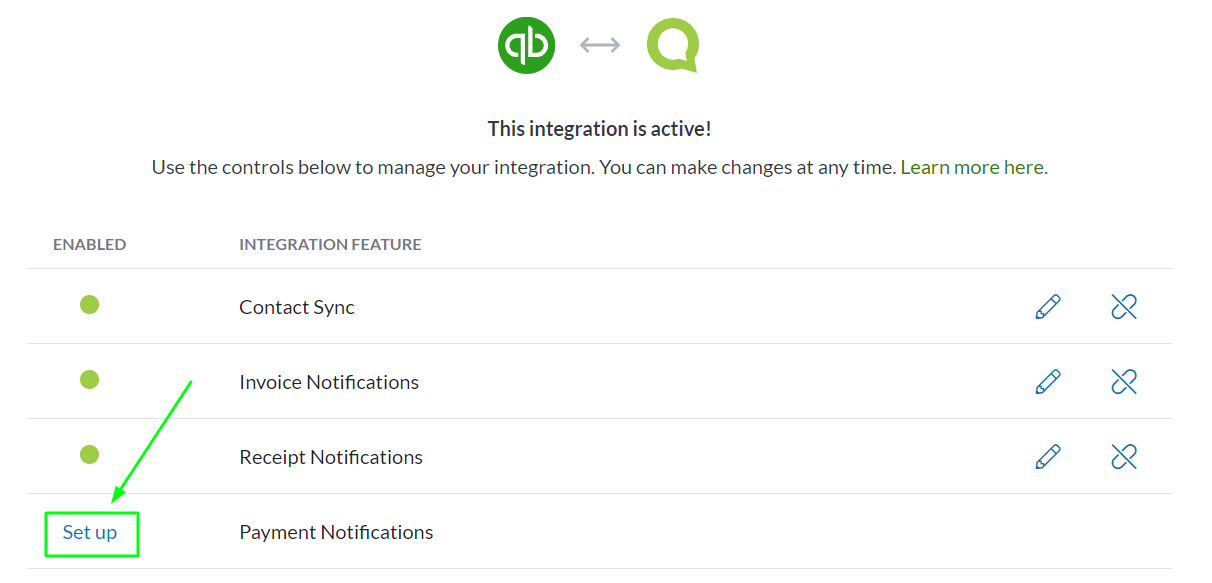
How do you set up Payment Notifications?
When this integration feature is activated, customers who have their phone number listed in your Quickbooks account will receive a text message whenever their payment is received by you inside Quickbooks. To set it up:
1. Select Set up next to Payment Notifications
2. A new window will appear and ask you to select the dashboard you want the payment notification to send from, and to compose the messaging with the desired merge fields you want to appear
3. Check whether or not you would like to attach a PDF of the invoice

4. Select Save

You can edit or delete your receipt notification at any time by selecting the pencil and unlink icons respectively next to Payment Notifications.

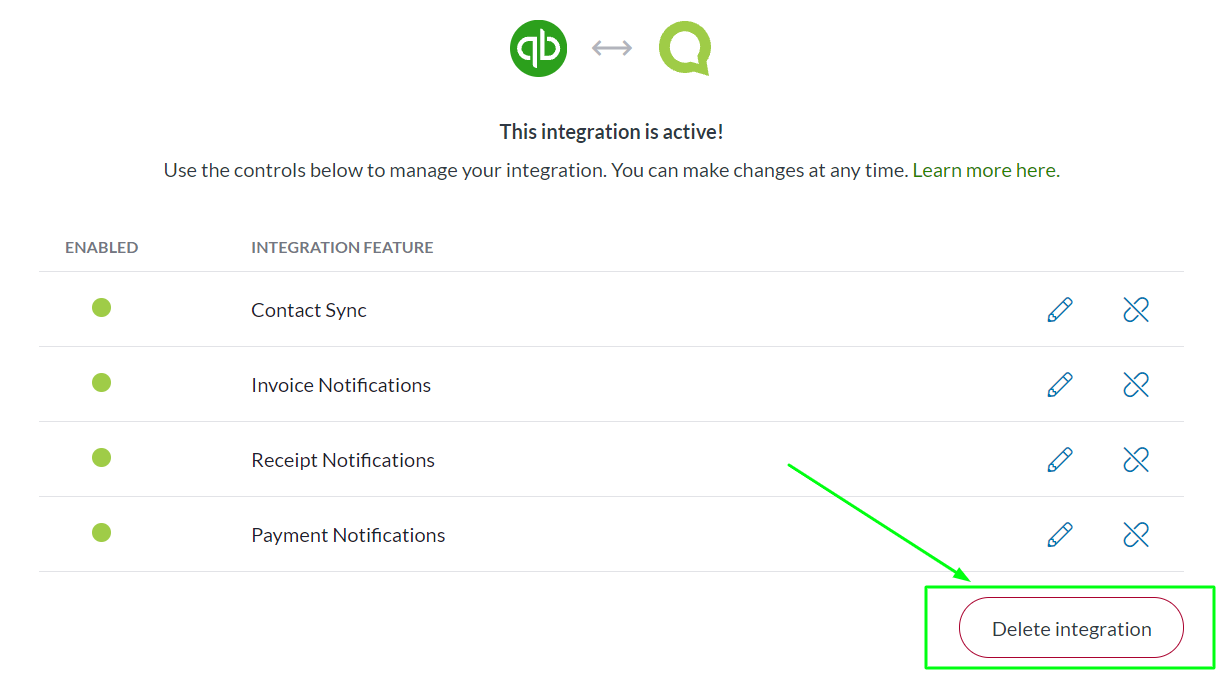
How do you disconnect this integration?
When you no longer wish to use the integration, you can disconnect it by following these steps:
1. Go to the Integrations section of your menu
2. Locate the Quickbooks integration box underneath the Everyday Tools section
3. Select Settings within the Quickbooks box
4. Select the Delete integration button on the new page that appears
5. A new window will open asking you to confirm that you’re sure you’d like to delete the integration
Once this integration is deleted, all contact syncing, invoice notifications, receipt notifications, and payment notifications will stop.
You can reconnect this integration at any time by following the set up instructions above.