
The Settings section of the Payments menu is where you can change your merchant friendly name, convenience fee, payment terms, and brand colors. You can also disable Payments in this section.
Only administrators can change Payment settings.
To change any of the payment settings mentioned above:
1. Go to the Payments menu
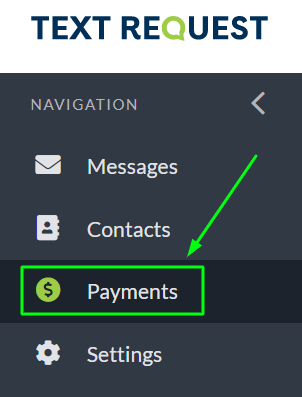
2. Select Payment Settings in the top right corner

3. Change your merchant name, convenience fee, payment terms, and brand colors as needed
4. Select Save Settings after you finish making your desired changes

Merchant Friendly Name
This is the name that contacts will see when you message them Payment Requests and reminders. It will also appear on the receipt available to contacts after they pay a request.
Convenience Fee
The convenience fee is a way for you to charge your customer a set fee for the convenience of paying over text message. For example, if you set your fee at $5, and your client owes $100, then your client will pay $105 to your business.
Payment Terms
Enabling payment terms will set the amount of days a contact has to complete a Payment Request before it is marked as past due in Text Request. This is intended to help you easily identify requests that have gone unpaid for a designated time period and is meant for internal use only. Contacts will be unaware that a payment is past due unless you tell them.
Brand Color
This is the color contacts will see when they open your Payment Request link. It gives you an opportunity to add a little bit of your branding to the payments process.


Disabling Payments
Accounts can also disable payments on a per dashboard basis in the Settings section of the Payments menu option. This means users will not be able to send out Payment Requests from those dashboards once you toggle Payments Enabled off.
